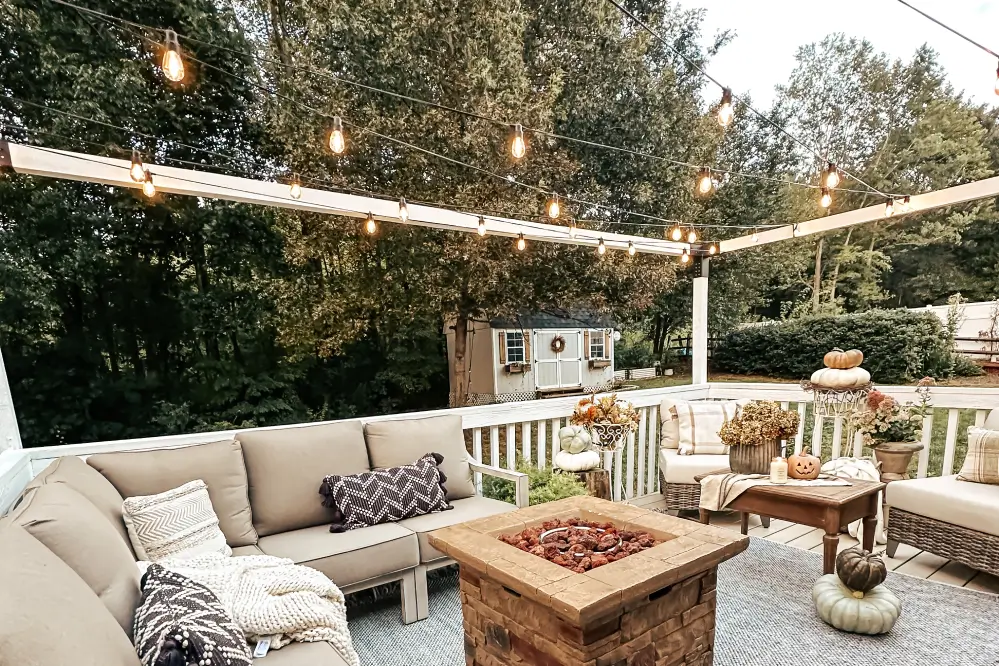
Have you ever looked at someone’s backyard decorated with festive string lights and wondered, “How did they manage to make it so effortless?”
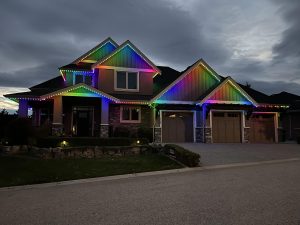
Trust us, outdoor string lights can totally transform the shape of your house, but only if they are decorated neatly & beautifully.
Whether you want to light up your patio, pergola, or deck, outdoor string lights add warmth, depth, and ambiance to your space. The good news? You don’t have to call in some professional help. You can easily do it yourself—without any hassle.
But how? Today, we are going to reveal the entire process of outdoor string light installation. From planning the layout to safely plugging in the lights, you can hang patio string lights and enjoy the combination of beauty and functionality at the same time.
Wondering How to Attach String Lights to House? Let’s Start with a Plan
Okay, before you grab that heavy ladder and a bunch of string lights, it’s important to have a proper plan in place. When you have a plan, you can easily save time and money.
So, let’s think about your space first. Ask yourself a few questions.
- Where should I hang the string lights?
- What area should I try to highlight?
- Should I hang lights for security, curb appeal, entertaining guests, or everyday occasions?
Some common outdoor areas can be the following:
- Patios and decks
- Backyards and gardens
- Pergolas and gazebos
- Fence lines
- Pool areas
Let’s Decide on a Layout
Different layouts can create different vibes. Some common ones are:
-
Straight lines:
Clean and modern look
-
Zig-zag pattern:
Great for wider spaces
-
Perimeter lighting:
Outlines your yard or patio
-
Canopy style:
Lights draped overhead like a tent
Other than that, it’s also important to decide on a direction. For example, you need to identify where the power source is located and then plan the layout starting from that point.
Do not forget to measure your space. Use a tape measure to determine the distance between anchor points.
Tools and Materials You’ll Need
Before you plan your backyard string lights setup, let’s gather some necessary tools and materials.
Tools
- Ladder
- Measuring tape
- Pencil or chalk
- Drill
- Screwdriver
- Hammer
Materials
- Outdoor string lights
- Extension cords
- Hooks, screw eyes, or cup hooks
- Anchors
- Guide wire
- Zip ties or carabiner clips
- Weatherproof outlet cover
Step-by-Step: How to Hang Outdoor String Lights?
Now, let’s start the process of how to install outdoor lights. Take it step-by-step; don’t rush.
-
Step 1 – Mark the Anchor Points
First, you need to identify where your lights will be attached.
- Mark each point with a pencil or chalk
- Keep spacing consistent
- Make sure points are level if you want a clean look
- Use existing structures like walls, fences, or posts when possible
In case you don’t have anchor points, consider installing points.
Step 2 – Install Hooks
Now it depends on the surface you are working with. For example:
For Wood Surfaces
- Drill a small pilot hole
- Screw in hooks or eye bolts securely
For Brick or Concrete
- Use a masonry drill bit
- Insert wall anchors
- Screw hooks into the anchors
For Metal Surfaces
- Use magnetic hooks or clamps
Step 3 – Add a Guide Wire
In case you are spanning a long distance, a guide wire may help prevent sagging issues.
- Run a steel guide wire between anchor points
- Secure it using turnbuckles
- Attach string lights to the wire using zip ties
This step is useful for:
- Large backyards
- Open spaces without support
- Heavy bulb string lights
Step 4 – Hang the String Lights
If you are wondering, “how to connect string lights together”, here comes an interesting part.
- Start at the power source end
- Attach the first bulb socket to a hook
- Continue attaching each section along your planned route
Keep these points in mind:
- Allow a slight sag for a relaxed look
- Avoid pulling the lights too tight
- Don’t let bulbs hang unsupported for long distances
Step 5 – Secure the Lights Properly
Once all the string lights are in place:
- Use zip ties or clips to secure them
- Keep cords organized
- Avoid dangling wires that could get caught
Step 6 – Connect to Power Safely
This step is crucial for both safety and functionality.
- Use outdoor-rated extension cords only
- Plug into a GFCI outlet
- Keep all connections off the ground and away from water
If needed:
- Use a weatherproof cover for outlets
- Elevate connections using hooks
Safety Tips You Shouldn’t Ignore Ever!
Yes, outdoor lighting is quite safe, but only if installed properly. Remember, cutting corners can lead to several problems:
Remember these tips always:
-
Use outdoor-related products
Make sure the lights and cords are labelled for outdoor use
-
Avoid overloading circuits
Check the wattage of the lights and don’t connect too many strands
-
Protect Against Weather
Use weather-proof covers for plugs
-
Maintain proper tension
Don’t stretch the lights tightly between points
-
Secure ladders properly
Place your ladder on a stable surface
Common Mistakes to Avoid
Remember, sometimes simple projects can go wrong if you don’t follow guidelines properly.
Here are some mistakes to avoid:
Skipping the Planning Step
- Leads to uneven spacing
- Results in messy wiring
Using Indoor Lights Outside
- Risk of electrical damage
- The lights won’t last long
Overstretching the Lights
- Can damage sockets and wiring
- Shortens the lifespan of your lights
Ignoring Weather Protection
- Water exposure can cause failures
- Increases safety risks
Poor Anchor Installation
- Hooks can loosen over time
- Lights may fall or sag
Follow These Tips for a Professional Look
If you want a more professional look, follow these tips:
- Use warm white bulbs for a cozy feel
- Keep lines symmetrical when possible
- Hide cords along edges
- Choose dark cords for less visibility
- Add a dimmer for control
When to Consider Professional Help?
Now the question is, when should you go for professional help? While this guide is purely for DIYers, there are situations when professional help makes more sense. For example:
- Large or complex layouts
- High or hard-to-reach areas
- Permanent lighting setups
- Electrical modifications
Relying on companies like Capital Trimlight Austin makes the process smoother and easier. The experts have decades of experience in outdoor lighting installation, which means you can consider them for custom outdoor string light installation as well, which ensures a safe and durable process.
Final Thoughts
At the end of the day, hanging outdoor string lights isn’t as complicated as it might seem at first. Once you take a little time to plan things out and follow a step-by-step approach, it becomes quite straightforward.
And honestly, the payoff is worth it—those lights can entirely change the mood of your space, making it feel warmer and more inviting almost instantly. Just don’t rush the process, make sure everything is secure and safe, and trust yourself as you go.
You might be surprised how good it turns out—and how satisfying it feels knowing you did it yourself.