Ever wonder how people get those magical backyard lights to hang just right? Well, it always takes a bit of planning and of course some elbow grease. But trust us, once they are up, there is nothing like the warmth, glow, and cozy look & feel of your very own patio.
Whether you are throwing a birthday party, a BBQ night celebration, or just want to transform your backyard into a ‘Pinterest-worthy’ sitting area, hanging patio lights can do the magic.
But the question is, how to hang patio lights that create an inviting glow? Don’t worry, we know hanging patio lights is a bit tricky especially if you don’t have trees or proper structures to work with. That’s why, we have come up with comprehensive guide in which you can learn the best way to hang string lights.
How to Hang Outdoor String Lights? Steps to Follow:
Wondering how to hang string lights across backyard? Here are the few steps to follow:
- Plan layout and measure
- Choose anchor points or install poles
- Install hooks, wall anchors, or guide wires
- Hang and secure lights (use zip ties or clips)
- Plug into a GFCI outlet
- Use smart plugs or timers
- Enjoy your beautifully lit patio
Tools and Materials You’ll Need to Hang Patio Lights:
Here are some basic tools and materials you will need to hang outdoor string lights:
Tools:
- Power drill (or screwdriver)
- Tape measure
- Hammer (optional)
- Ladder
Materials:
- String lights (weatherproof, outdoor-rated)
- Hooks (like cup hooks, screw hooks, or wall anchors)
- Zip ties or cable ties (for support)
- Outdoor extension cords
- Pole mounts (if you don’t have walls or trees nearby)
- Guide wire (optional but recommended for long spans)
Let’s Begin: How to Hang Lights Outside?
Now we have all the tools and materials to hang string lights, let’s come straight to the question: how to hang string lights on patio?
-
Step 1: Plan Your Layout
Before you start doing anything, let’s plan the layout carefully. You need to plan so you can visualize how you want your lights to hang. There are a few patterns to consider:
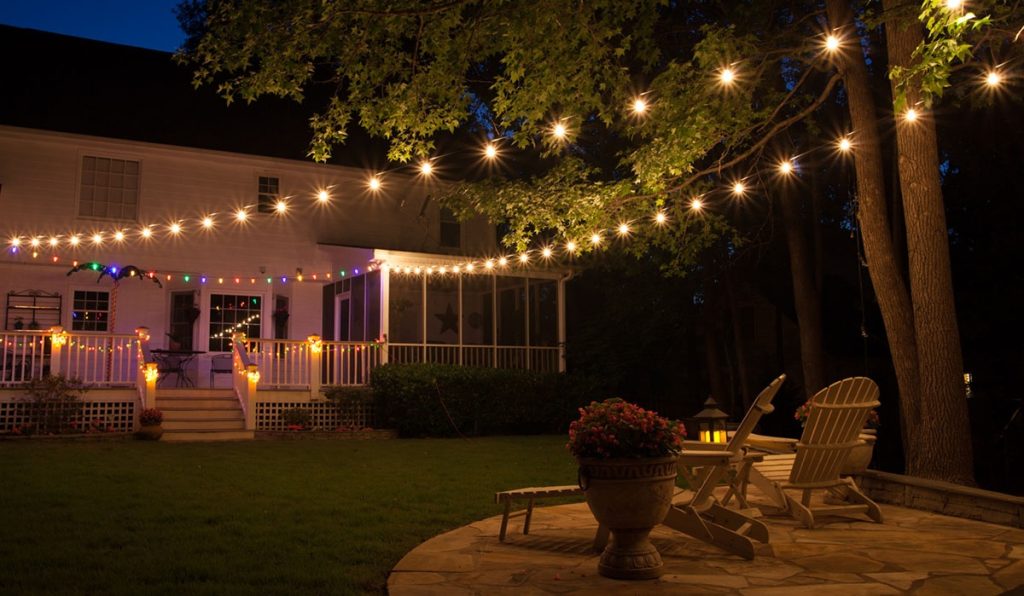
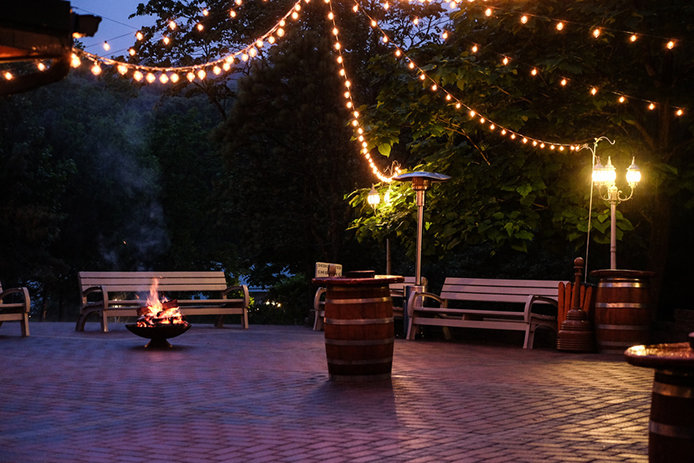
- Zig-zag: Great for wide patios or open spaces.
- Crisscross: Adds depth and texture overhead.
- Perimeter: Clean and simple along the edges.
- V-pattern: Perfect when your anchor point is limited to one side.
- Straight lines: For a clean, modern look
-
Step 2: Choose the Anchor Points
In the next step, you need to find some anchor points to attach your lights. Make sure the points are sturdier and stronger. Some ideal anchor points could be:
- House walls or eaves
- Trees or tree trunks
- Wooden fence posts
- Pergola or gazebo
- Poles installed in the ground
- Deck railings
-
Step 3: Install Support Poles
Do not have any trees or walls nearby? Don’t worry. It’s possible to create anchor points using support poles. Now you have two options.
- Wooden posts in planter
- PVC or metal poles in concrete bases
You can get an accurate length wooden posts, such as 8 foot 2×2 or 4×4 wooden posts. Secure them into heavy-duty planters with concrete and then add soil or plants for aesthetic appeal. You can also paint or stain the wood.
The other option is, use metal conduit pipes or PVC and set them in concrete filled buckets or flower pots. They look lightweight and incredible. Moreover, they are quite budget-friendly as well.
-
Step 4: Install Hooks
Once you know where the lights will attach, its time install the hooks. If you are installing hooks on wood or walls, use screw-in hooks or eye bolts. Or if you are installing on trees, use hook-and-loop straps or eye hooks. Tip: do not use nails, it will harm the tree.
-
Step 5: Hang the Lights
Now comes the most interesting part – hanging the lights.
Make sure you first use a ladder safely. Also, do not hang lights if its windy or rainy conditions. Your lights should be unplugged while installation.
Follow these hanging tips:
- Start from the power source
- Work your way out from one end to another
- Leave a bit of slack for a soft drape—not too tight
- Secure lights to hooks, poles, or guide wire using zip ties or clips
-
Step 6: Plug in and Test the Lights
It’s time to let them glow…! Plug your lights into a GFCI outdoor outlet. You can use a smart outdoor timer or Wi-Fi plug to control the lights remotely. Now test all the bulbs and make sure everything is working fine.
Common Mistakes to Avoid for Hanging String Lights:
-
Using indoor lights outdoors:
They won’t last long and can be a fire hazard.
-
Not using a guide wire for long spans:
Your lights may sag or snap.
-
Skipping the layout plan:
Eyeballing it often leads to frustration.
-
Pulling the lights too tight:
No room for expansion or temperature changes.
-
Ignoring the power source:
Always plan where and how you’ll plug them in.
Types of Patio Lights to Install:
There are different types of patio lights. You can choose from a wide range that best suits your home:
- String Lights– Classic and flexible for any space.
- Bistro Lights– Hanging bistro lights look cool and give a café-style glow.
- Lantern Lights– Great for hanging or tabletop ambiance.
- Fairy Lights– Tiny, twinkling, and perfect for subtle sparkle.
- Globe Lights– Round bulbs that offer warm, even light.
- Solar Stake Lights– Ideal for lighting up walkways with no wiring.
Bottom Line: What is the Best Way to Hang Outdoor String Lights?
Looking for the best way to hang string lights?
Well, the best way is to plan ahead, choose solid anchor points, and use guide wire for extra support—especially over longer distances.
Hanging outdoor lights shouldn’t have to be complicated, but getting it right makes all the difference. And if you’d rather skip the hassle, Capital Trimlight Austin can professionally install your outdoor string lights and get the perfect look, hassle-free.
We have an expert team with years of knowledge and experience, so you don’t have to worry about installation or anything. Consult with our team and let them hang string lights to enhance your outdoor look.
You May Also Like: How Many Watts Do Christmas Lights Use?


